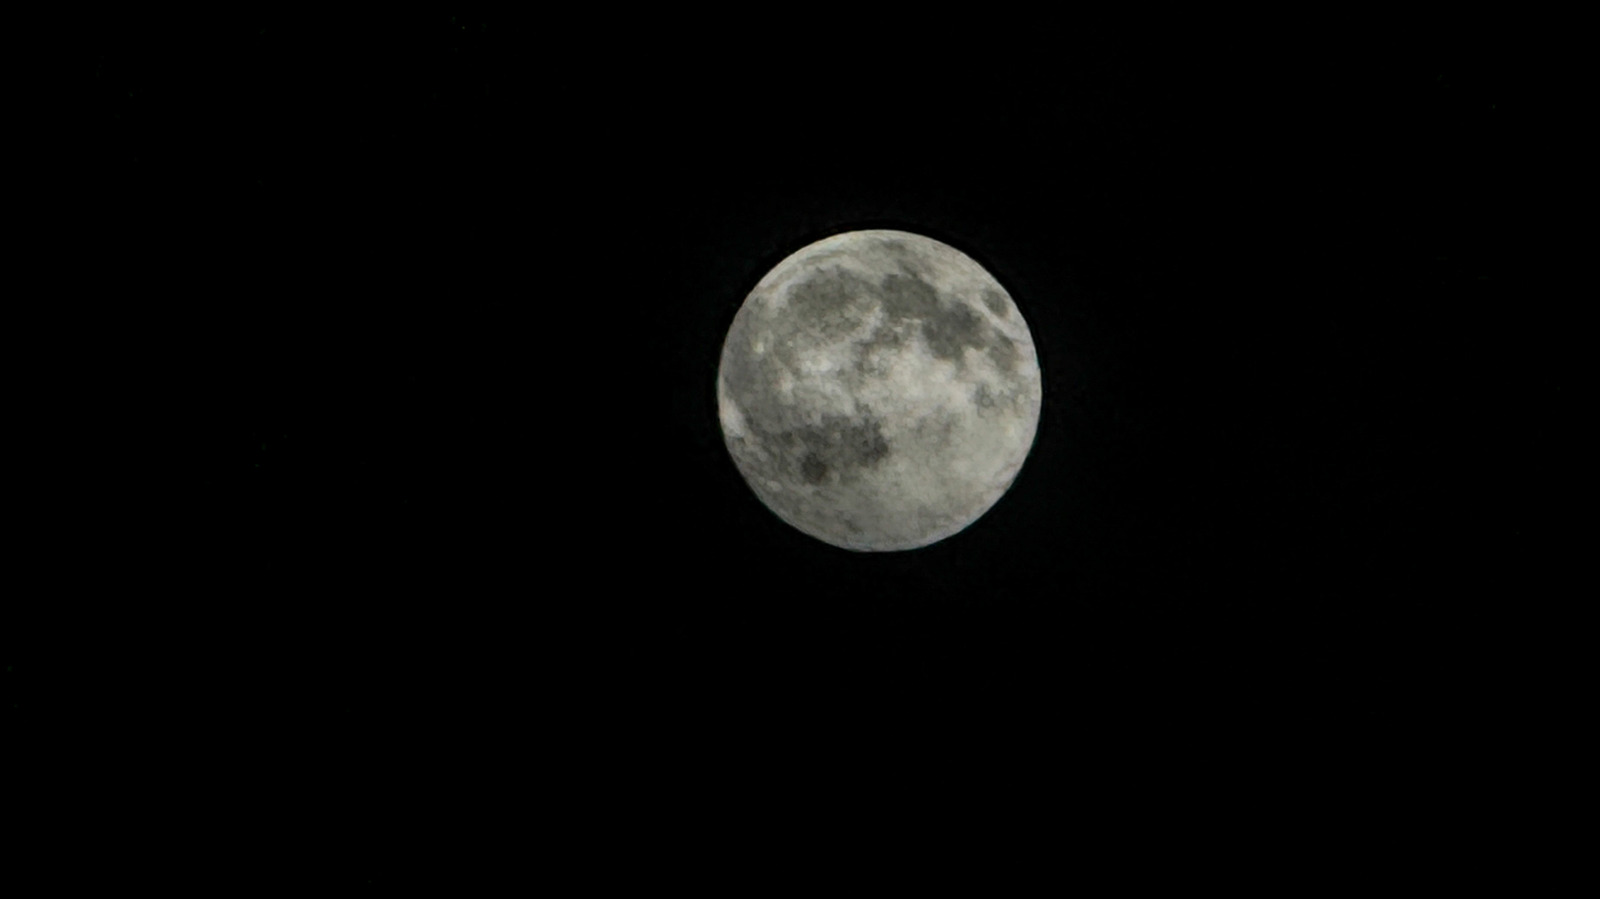
With some easy adjustments, you can upgrade your lunar shots.
By Steve Dent Nov. 9, 2026 2:30 pm EST Steve Dent for Engadget Add Engadget on Google: Preferred Source Google Discover
Trying to snap a picture of the moon with your iPhone can be an exercise in frustration. You frame it up and everything seems fine, but after clicking the shutter, your photo is either a ball of light with no detail or a blurred mess.
So what happened, and what can you do about it? Even with fancy AI algorithms, cameras can't break the laws of physics when shooting a bright object at night. And unlike some devices, iPhone cameras don't resort to trickery when taking lunar snaps, so the photo quality is entirely up to you and how you set the camera. Here's how to do it right.
Why your moon shot is a featureless blob
Everyone wants their moon photos to be sharp and well exposed, showing all the craters and features you see with your naked eye. The challenge is that the Moon is very bright (it's illuminated by the Sun, after all) and the night sky is extremely dark. Your camera's exposure system always tries to average light, so it often overexposes to "brighten" the surrounding sky. As a result, the moon can often become overexposed and look like a textureless circle.
Your moon photos may also be blurry. This happens because when your iPhone tries to boost exposure, it must lower the shutter speed to 1/30th of a second or even lower. As a result, any hand shaking or other movement can blur the image, even with your iPhone's stabilization system.
Finally, you may find that the moon isn't large enough in your shots. The latest iPhone 17 Pro and iPhone 18 Pro models have up to an 8x "optical-quality" zoom and 40x digital zoom, while the iPhone 15 Pro and iPhone 16 Pro models offer a 5x optical zoom and 25x digital zoom. The iPhone 17 and iPhone 18 standard models have 4x optical and 10x digital zoom. Whatever model you own, zoom in as much as you can so that the moon is clearly visible.
Use a tripod
 Steve Dent for Engadget
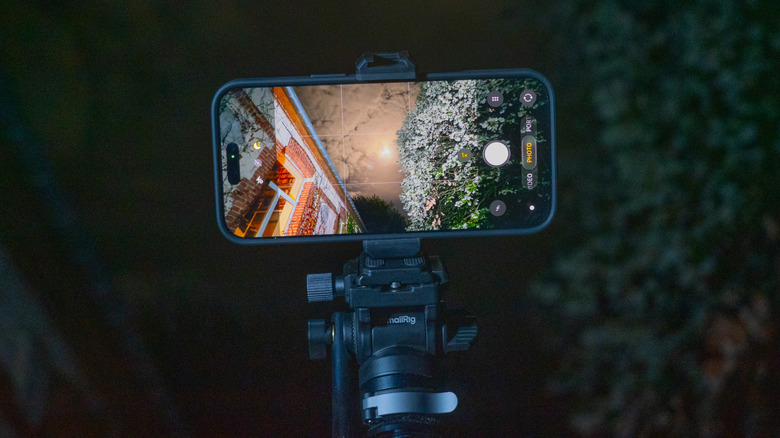
You can get a reasonable moon shot handheld, but your best bet is a tripod. Any cheap one will do, including models like the Amazon Basics 64-inch tripod that includes a smartphone holder. However, I'd recommend spending at least $20 on something higher quality and more adjustable, like the Amazon Basics 50-inch tripod. If you get one like that, you'll also need an inexpensive, tripod-compatible smartphone holder like this one.
If you're having trouble justifying the cost of a tripod, you can also use it for long exposures (to blur waterfalls or create traffic light trails), panoramas, hands-free TikTok-style recordings and video calls. If you really don't want to spend the money, though, you can prop your iPhone against a book or coffee cup, then use the iPhone camera's three-second timer (one of the six-dot menu options) to take the photo. Otherwise, you could jostle your phone when you hit the shutter button and your moon shot will be blurry.
Nail the zoom and exposure levels
While the recently-launched iPhone 18 Pro's native camera offers manual controls for shutter speed and ISO, older iPhones do not. However, you can adjust two separate exposure settings. The first of those is called exposure and the other is brightness.
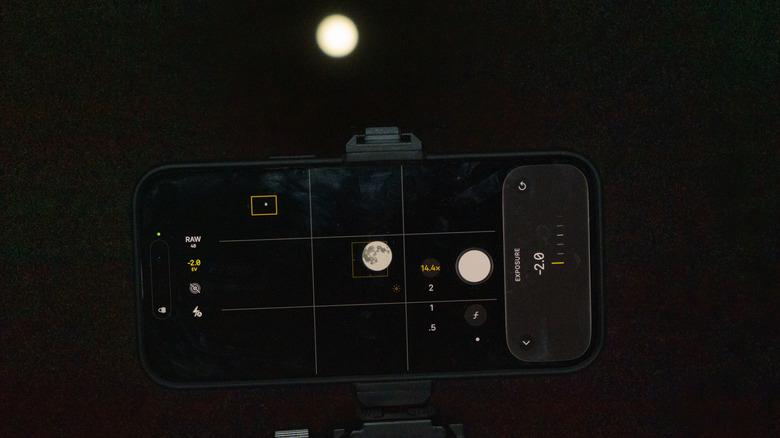
To set the first, go to the six-dot menu and tap "Exposure," one of the nine settings on recent iPhones like my 16 Pro Max. Then drag the slider to the right to set it to -2EV, which lets in the least light. This setting will stay through your photo session as long as you don't close the Camera app.
Once your iPhone is set up, tap and hold on the moon for several seconds to lock the autofocus and exposure. Then, slide the "brightness" slider (with a sun icon) that appears to the right down to the desired setting (usually close to the minimum).
Once you do so, you'll start to see the moon's craters and detail appear. Make sure you can see the maximum detail possible, even if the brightness seems too low (you can always increase it after you take the photo). Then press the shutter button, and voila, you have a beautiful, clear shot of the moon. Note that both the exposure and brightness must be adjusted at or near the minimum possible, or your moon photo will lack detail.
If you want to capture video instead of a photo, follow the same process. Change your iPhone's setting to "Video," then zoom in on the moon (15x max for recent Pro cameras) and frame the shot. Make sure Exposure is at -2EV, then tap and hold on the moon to lock focus. Drag the brightness slider down to the desired setting until you see the level of detail you want. Then, hit the record button and capture the desired length of video. To extract a photo, play your video back, stop on the desired frame and take a screenshot.
Final thoughts
 Steve Dent for Engadget
One quick note on resolution. You may notice that your iPhone moon pictures look pixelated. At 25x digital zoom, the effective resolution on an iPhone 15 Pro or 16 Pro (both with 12MP 5x telephoto cameras) is just 0.48 megapixels. The camera automatically upscales it to 12MP to match your other photos, but the detail is already lost. The iPhone 17 Pro and iPhone 18 Pro models do a bit better with their 48MP sensors and 4x optical zoom, which reduces to an effective 1.24MP resolution at a 25x zoom before upscaling.
If you want more control for moon photos than Apple's Camera app offers, you could upgrade to the iPhone 18 Pro, but the App Store also has other options. Moontake is a free app built for moon photography that uses the longest telephoto lens by default and sets the proper exposure automatically. It also displays astronomical data like the lunar azimuth and altitude. You can also use apps that give you granular control over all types of photography (ISO and shutter speed control), like Halide Mark III and ProCamera.